Painting the Spirit Rock
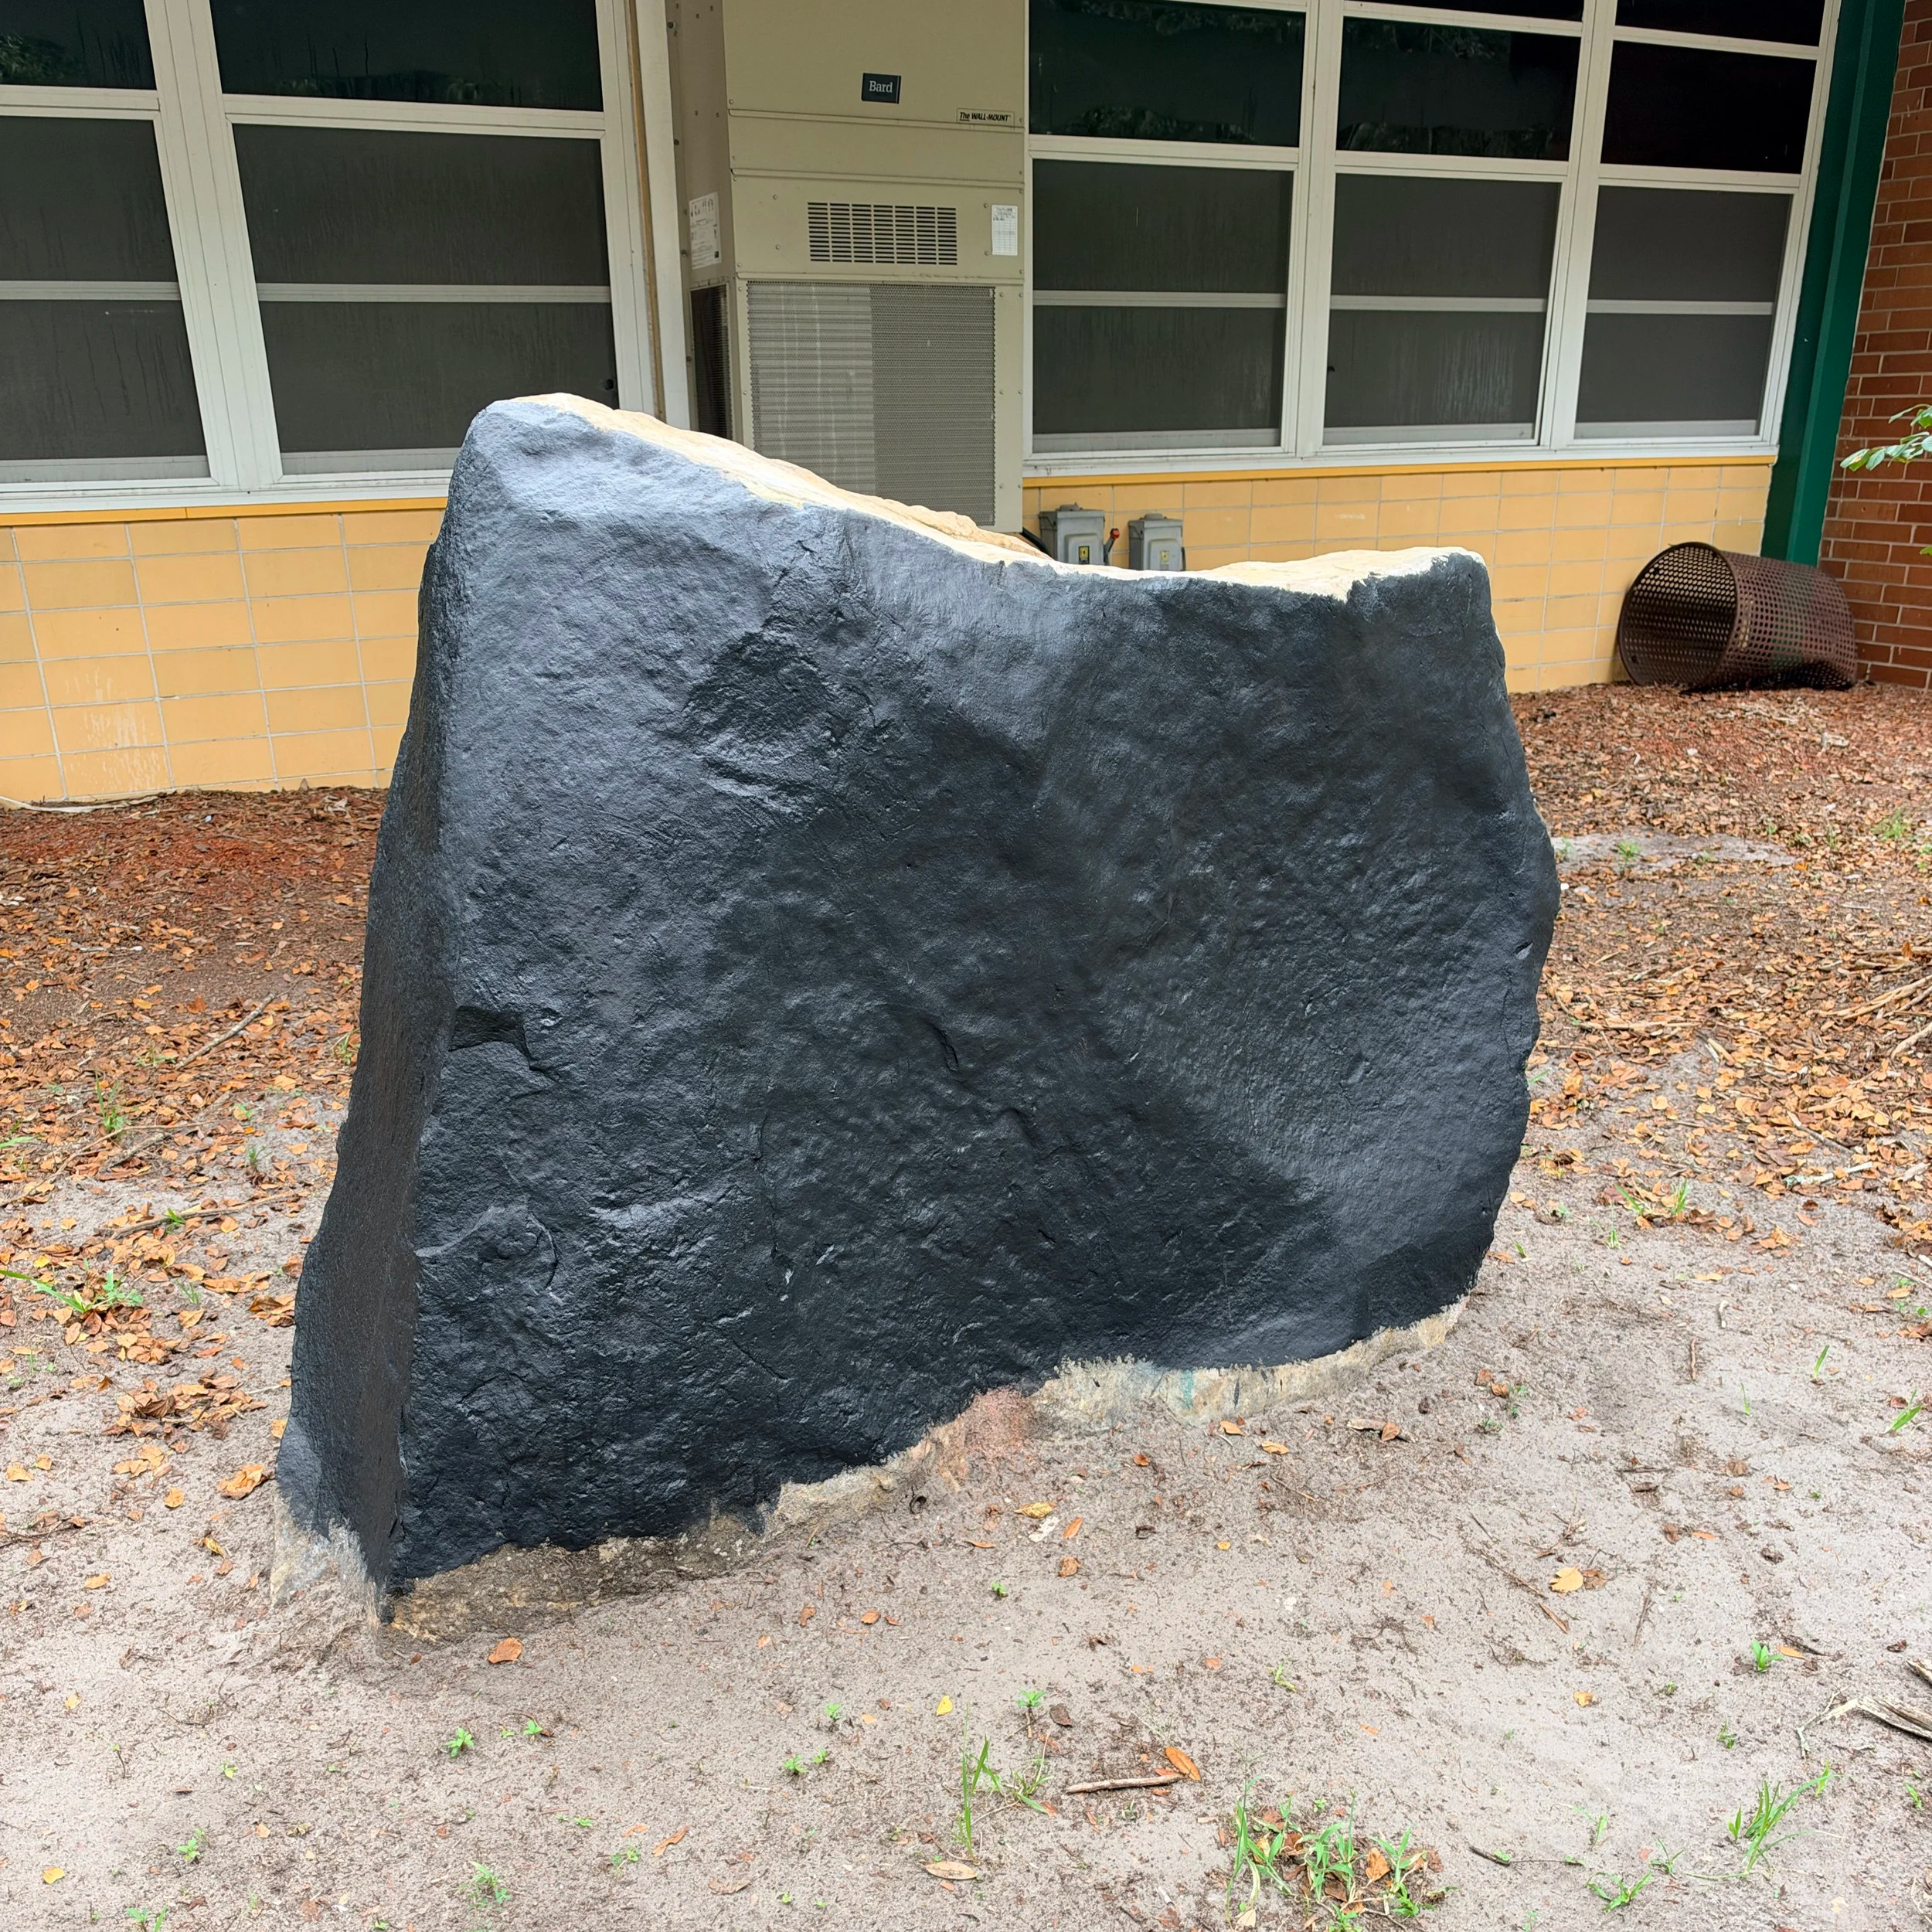
Background prep
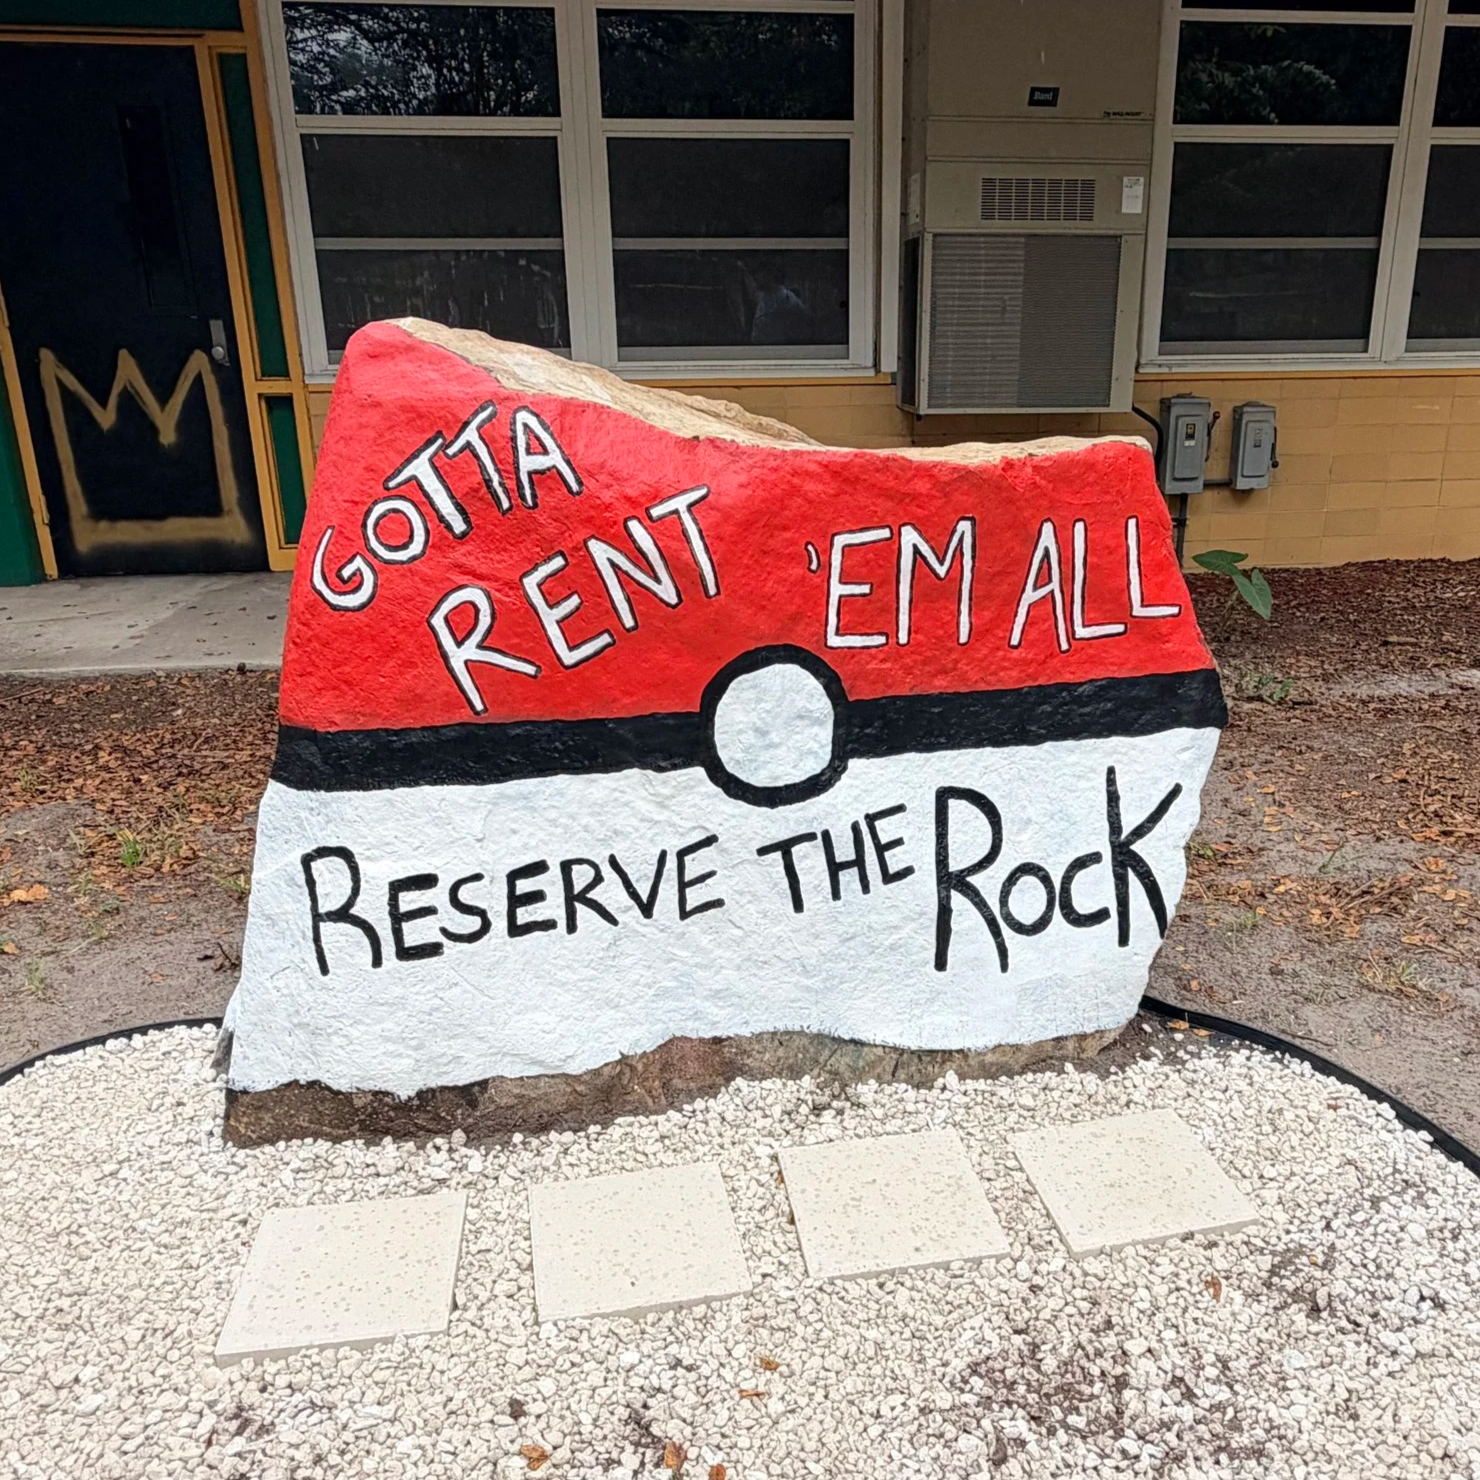
First paint job

Second paint job
How to paint a giant school boulder without making yourself miserable
A few disclaimers before we get started:
I have painted this rock exactly two times. I am not an expert.
Those two experiences have, however, amounted to several hours of very specific knowledge about what works, what doesn't, and what I absolutely should have brought with me.
I have painted this rock in the middle of the Florida heat. I have painted it in the rain. I have crouched in front of it until my body stopped cooperating. I have gotten paint in my car.
So while I cannot promise you the prettiest Spirit Rock in Jacksonville, I can probably help you avoid some of my mistakes.
This week, I had exactly two hours to paint the Spirit Rock between crafting with my kindergartener and my husband needing to leave for a meeting.
So I went for it.
Was it my best work? No.
Is it acceptable from the car line? Absolutely.
And honestly, that is probably the standard we should all be aiming for.
First: Get the old paint covered
The first thing I did was cover the existing design with white paint.
For this, I used whatever white exterior paint I had sitting in my garage. I think it might technically be exterior trim paint. It was also approximately five years old, very thick, and definitely not the paint I would have selected if I were deliberately going to the store to buy paint.
And you know what?
It worked great.
It covered the old black and red paint surprisingly well.
So my official recommendation is: use whatever old, thick exterior paint you already have.
You don't need anything fancy.
I used a very cheap, normal paintbrush for this. Mine came in a three-pack from Dollar Tree for about $1.50.
You are painting a rock. Do not spend $17 on a paintbrush to paint a rock. Ask your neighbor if they have one in their garage that you can have.
Then comes the fun part: the actual design
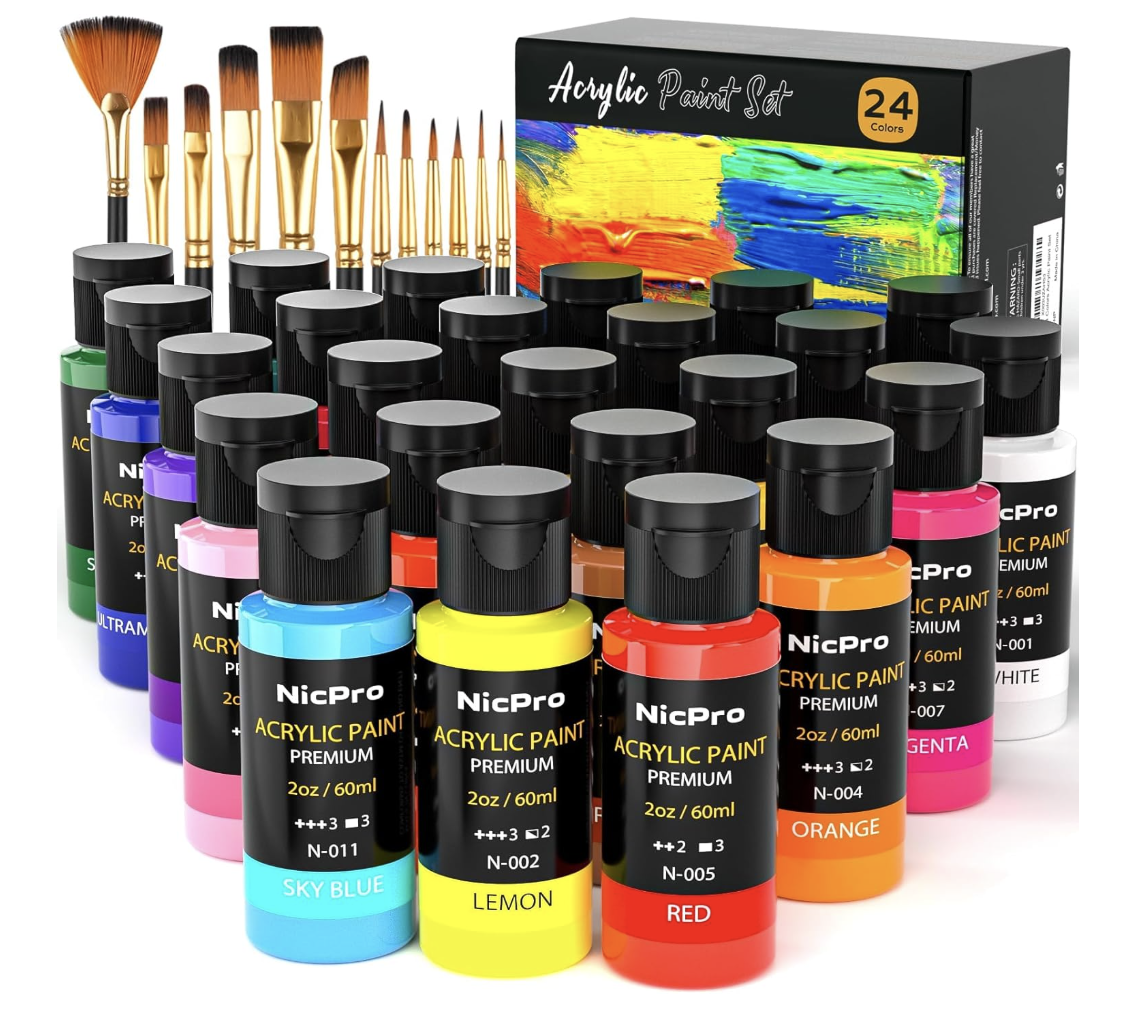
For the details, I used really cheap acrylic craft paint.
Mine came in a pack of approximately 40 colors that I bought at Liquidation Warehouse for $8.
It isn't fancy. It isn't professional. It isn't even one of the brands you recognize.
And, once again, it worked.
If I need more in the future, I will probably buy a set with better pinks, because apparently this is the kind of person I have become.
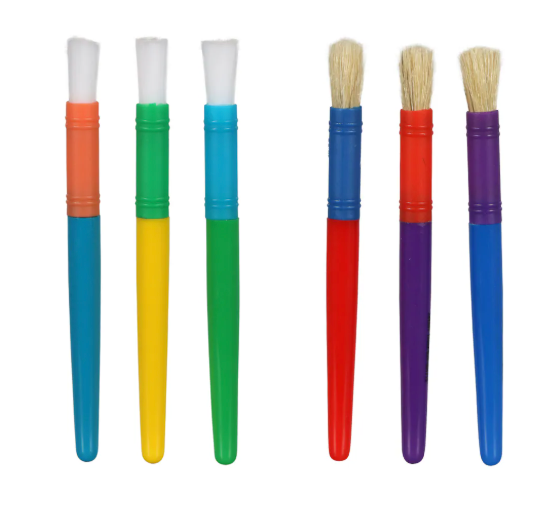
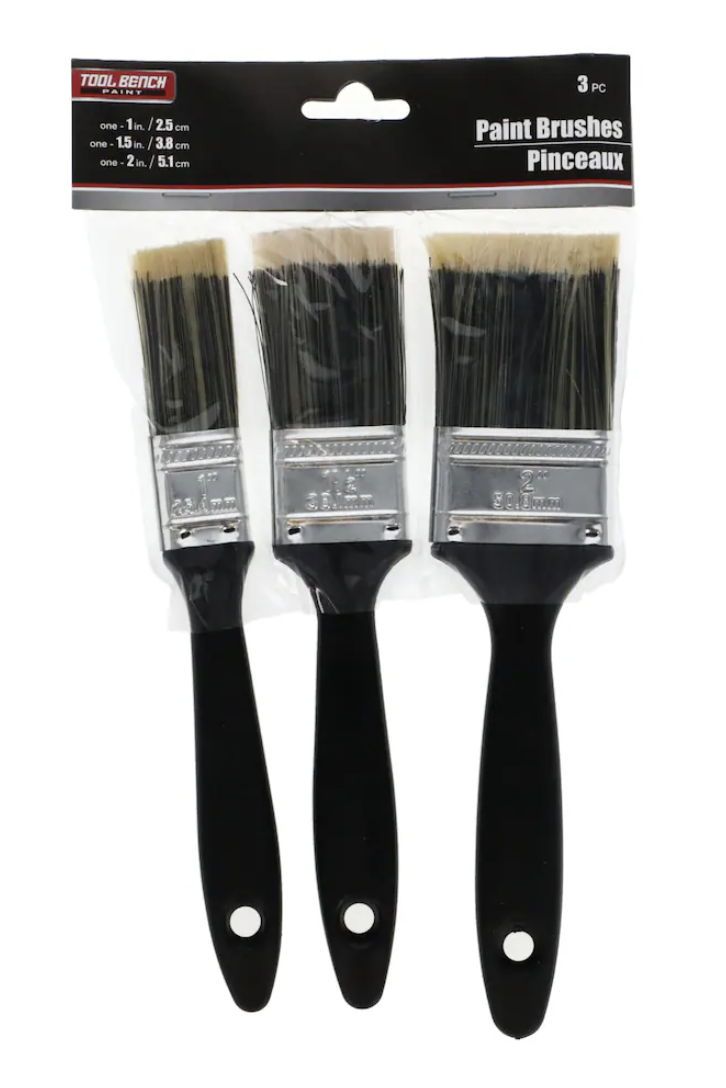
The brushes
I have tried approximately every kind of paintbrush you can imagine. They are all bad at painting rocks.
Tiny acrylic brushes? No. Sponge brushes? No. Fancy detail brushes from Lowe's? Also no.
The winner was the extremely cheap, round, coarse-bristled paintbrushes for children from Dollar Tree. These are the best I could find for my Amazon queens. They are literally the last paintbrushes I grab when I’m painting with my children. But they work for painting a giant rock.
They are cheap enough that you can have a different brush for every color and simply accept that you may never see that brush again.
Some of the bristles came out while I was painting. I did not care. They belong to the rock now.
Honestly, the coverage was still better than anything else I tried.
Paint markers are your friend
The second time we painted the rock, I also used some giant acrylic paint markers. They're basically giant versions of Posca-style markers.
I didn't use them the first time, but I really liked them this time.
The tip is huge, so they aren't exactly detail markers. But if you use the corner of the tip, you can get a surprisingly thin line. I found them particularly useful for outlining letters and adding little details after the paint had dried.
Would I use them to paint the entire rock? No.
Will I bring them again? Absolutely.

Do yourself a favor and sketch first
This is one of the few pieces of actual artistic advice I have. Sketch your design out with chalk first.
We did this when we painted our PokeBall rock. We did not do it for the book fair rock. I think you can tell.
The good news is that if you make a mistake, you can simply paint over it and try again. But sketching the design first is much easier. I used an ordinary piece of sidewalk chalk from our garage. You can paint right over it, and it disappears.
So don't overthink this. Draw your design. Stand back. Decide if you like it.
Then start painting.
Have more paintbrushes than you think you need
You do not need one paintbrush. You need one paintbrush per color.
They're three for a dollar. This is not the place to be precious about paintbrushes.
There was nowhere convenient for me to wash brushes while I was painting. I brought water the second time because I had learned from the first time.
Did I actually wash the brushes? No.
So take from that what you will.
Bring something to use as a palette
The first time, I brought no palette or anything to put paint into. The second time I brought a plastic palette from home. It worked.
The problem was that by the end of the afternoon, I had about 70 leaves stuck to my paint.
Next time, I think I would use little plastic cups or small paper cups for each color.
They're easier to deal with, and when you're finished, you can just throw them away (with your paintbrushes).
Again: we are painting a rock.
This does not need to become a complicated art-school experience. But, I mean, some of y’all are going to make it into that, and I am SO excited to see how it turns out. Genuinely.
The technique that worked for me
For lettering, I found it easiest to:
Paint the entire letter.
Let it dry.
Go back and outline it.
Touch up anything that looks weird.
There were definitely places where I had to go back and fix things. But here's the beautiful thing about a Spirit Rock: People are mostly looking at it from a car about 10 feet away.
The mistakes are considerably less noticeable from the car line.
The secret weapon: air movement
The first time we painted the rock, I happened to have our leaf blower in the back of the car. It was fantastic.
I used it to dry the paint quickly—even while it was raining. The second time, I brought a cordless fan.
This was especially useful because I was painting in the sun, which meant I could alternate between pointing the fan at the rock and pointing it directly at my face.
Both were necessary. If you have a leaf blower, bring it.
If you don't have a leaf blower, a fan will work. If you don't have either one, congratulations on choosing a much more peaceful hobby than I did. My life is a mess.
Bring something to sit on
Please learn from my mistakes.
Bring a butt pad. Bring a kneeling pad. Bring an old quilt.
Bring literally anything that creates a barrier between your body and the gravel on the ground.
I did not do this either time. The gravel is hard. Your body will eventually object.
I could crouch for only so long before I started questioning every decision that had brought me there. A 1–5 foam pad would have been worth every penny.
And make a packing list
This is the section I really needed someone to give me before I started. Perhaps I should have Googled more before just winging this thing…
Bring:
Background paint
Cheap paintbrushes
Acrylic craft paint
Acrylic paint markers
Chalk
Palette or small cups
Water
Paper towels or a “work rag,” as we call them in our house
Something to sit or kneel on
Fan or leaf blower
Plastic bag for dirty brushes
Paint key
Hammer for closing the paint can
Something to protect your car mats
I forgot the plastic bag. So when I finished painting, I had nowhere to put my paint-covered brushes.
I also forgot the hammer for closing the gallon of paint.
I ended up holding the lid down while driving home because I really did not want white exterior paint all over my car.
And, naturally, I did not have anything to protect the floor of my car from the brushes.
So yes. There is now paint on my car floor mats. Learn from me.
Finally: protect the rock
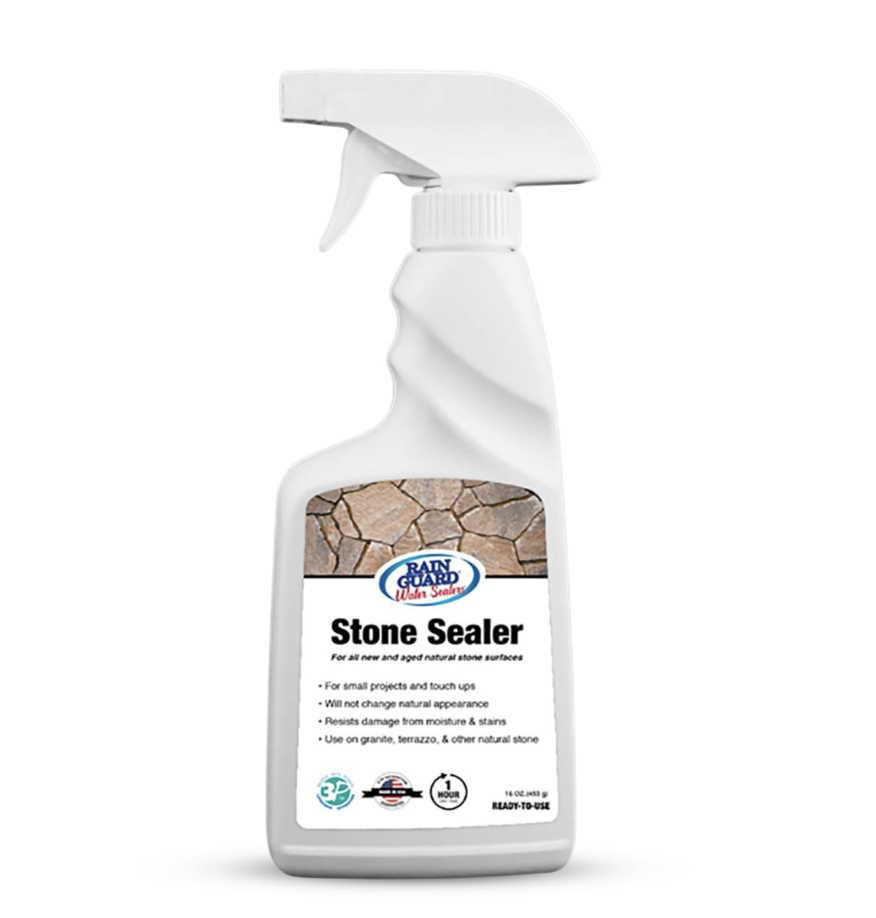
After everything dried (especially fast, thanks to the leaf blower), I sprayed the whole rock with a rock protectant.
I have no idea how much of a difference it made. The first rock we painted held up surprisingly well through more than a week of rain, so I'm hoping the protectant helps this one do the same.
We'll see.
That is really the theme of this entire “tutorial.”
We'll see.
I have painted the Spirit Rock twice. I have learned a few things. I have developed some very strong opinions about $1 paintbrushes.
But ultimately, the Spirit Rock is supposed to be fun.
It doesn't have to be perfect.
It just has to make somebody smile when they drive past it.
And if you happen to get paint in your car in the process, well... Welcome to the club. I’ll see you in the car line.